CloudArcade Setup – Prepare your Arcade site

On this article, we’re going to setup newly installed CloudArcade site to make it look like the demo site.
After CMS file is extracted or unpacked, you will be redirected to installation page
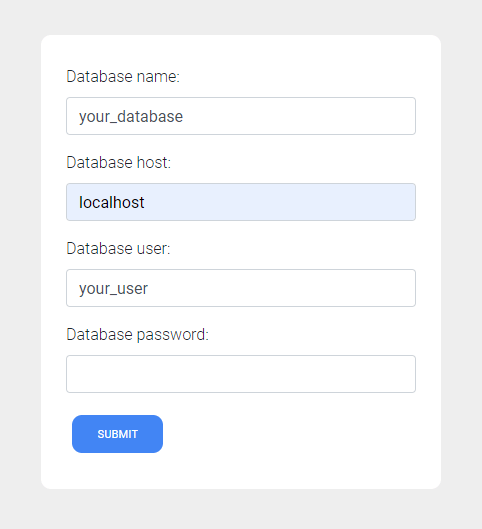
Fill the fields with your database details, then click “submit” button
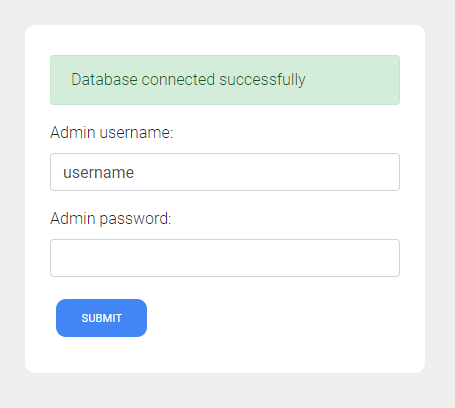
If database already connected, then you need to create your admin user account.
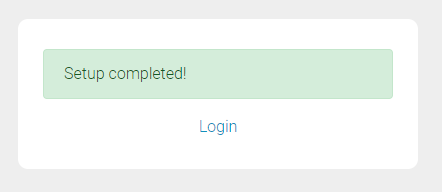
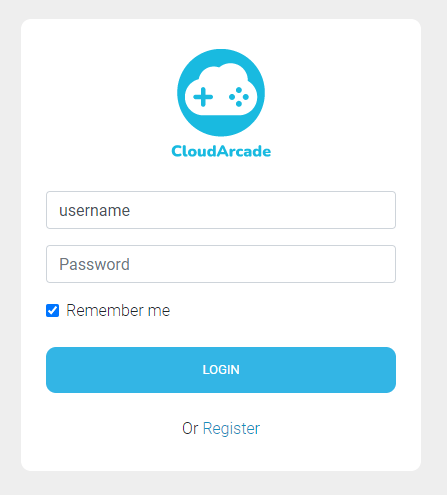
If everything is OK, you can start login with account you just created.
You will be redirected to Admin dashboard. If you see a warning message (image below), you need to submit your Codecanyon item purchase code.

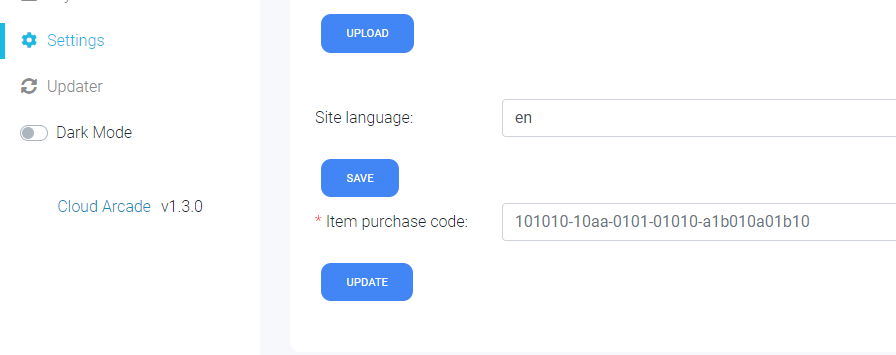
Open settings page (Left sidebar), then scroll at the very bottom. Paste your item purchase code, then click “Update”.
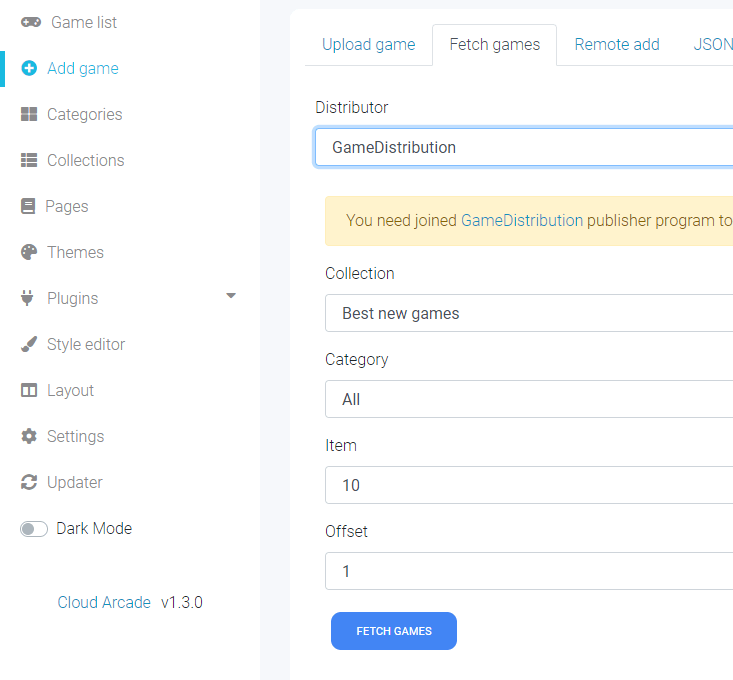
Next, we will add our first games. Open “Add game” page, then select “Fetch games” tab, you can choose game distributor you want, there are plenty of distributor source you can choose. Click “Fetch games” to load games with your preset.
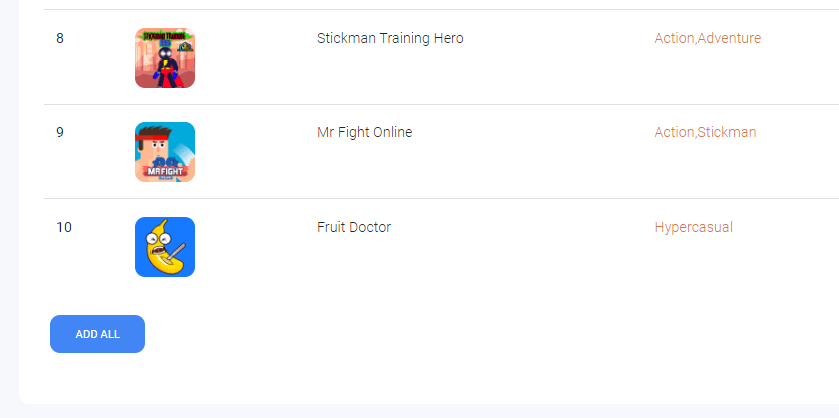
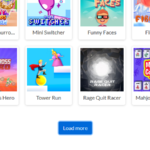
If the game list already loaded, you can click “ADD ALL” button to add all listed games.
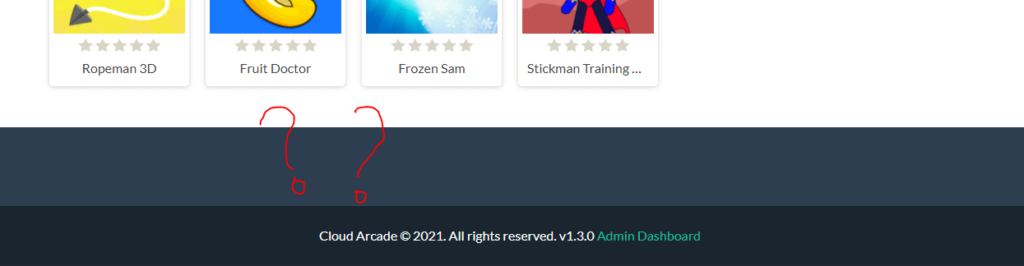
Visit your site, it will be like this:
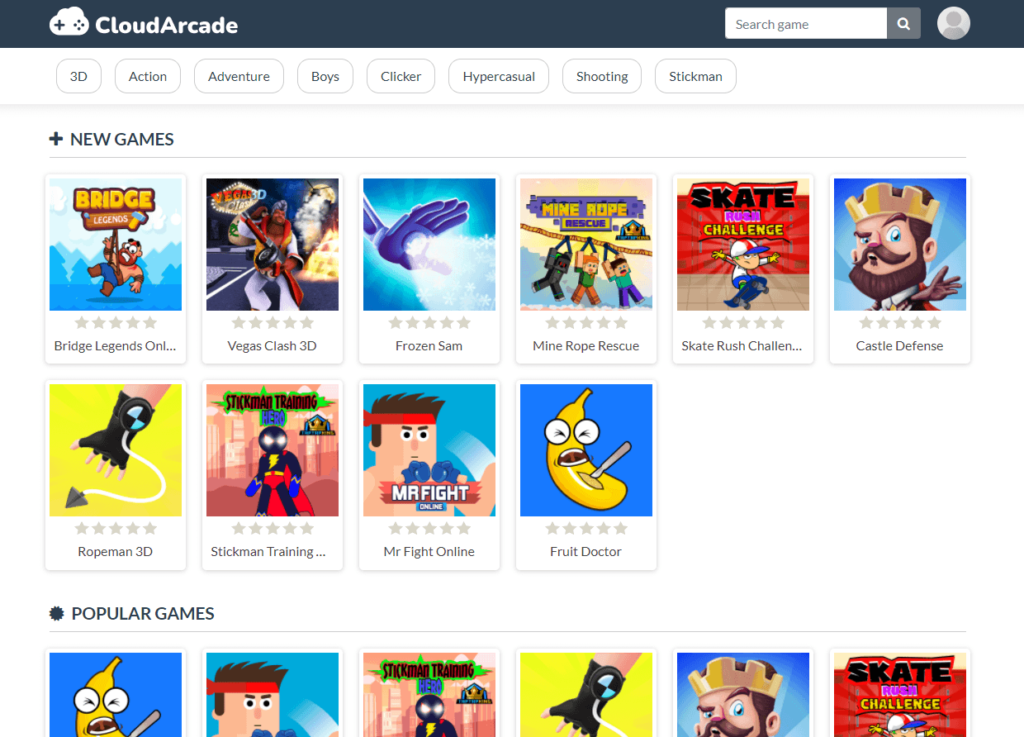
We already build working Arcade site with just a few steps, but we need to configure some elements.
Our navigation menu is empty, we need to create some.
Open “Layout” page, then you can create a menu list with it’s url link, don’t forget to click “SAVE MENU”.
Here is the result:

We already create navigation menu, next we will add Footer content since it’s empty
Open “Layout” page, then click “Widgets” tab
You can add widget by drag and drop widget content into available placements
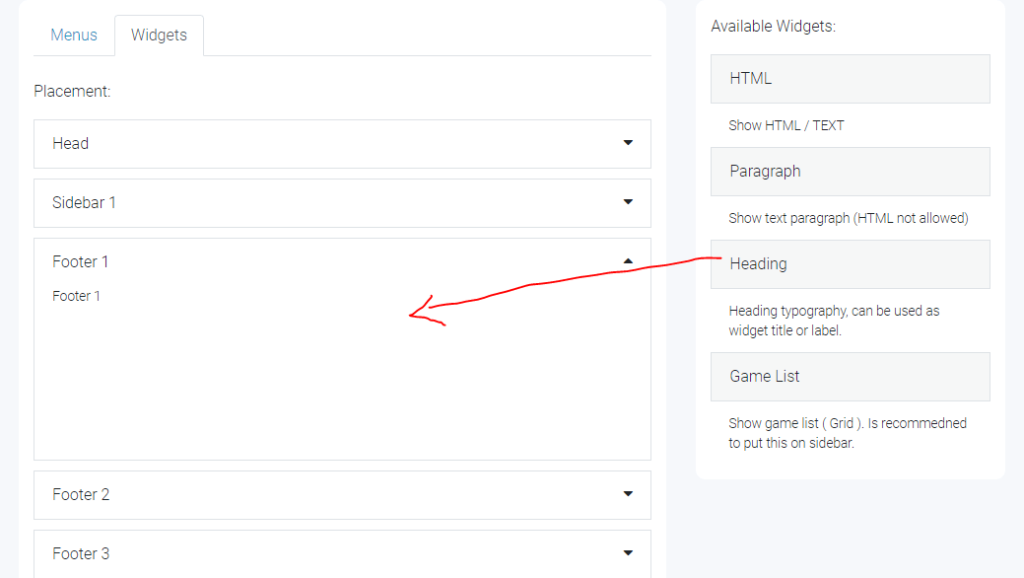
Expand “Footer 1”, then drag “Heading” widget to the left (Footer 1 placement)
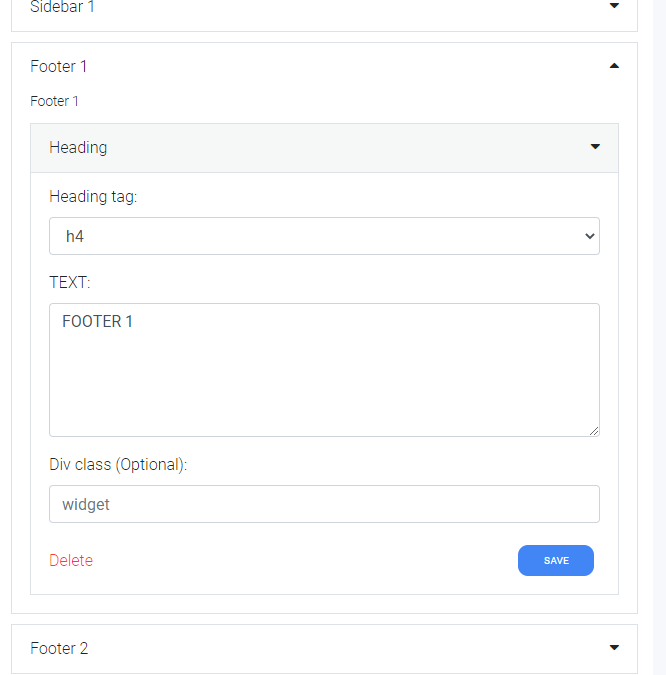
Fill it like image above, we will use this as widget or section title.
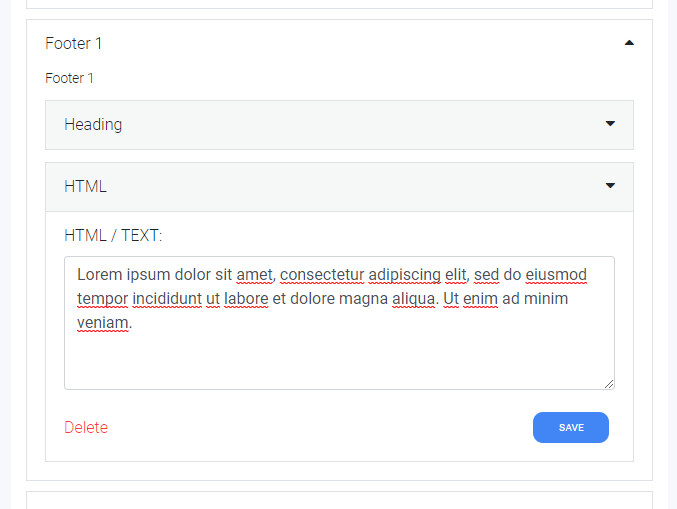
Then drag “HTML” widget to the bottom of “Heading” widget we just created. You can also use “Paragraph” to replace “HTML”, but with “HTML” we can insert HTML tag. Fill the text, then save it.
Result:
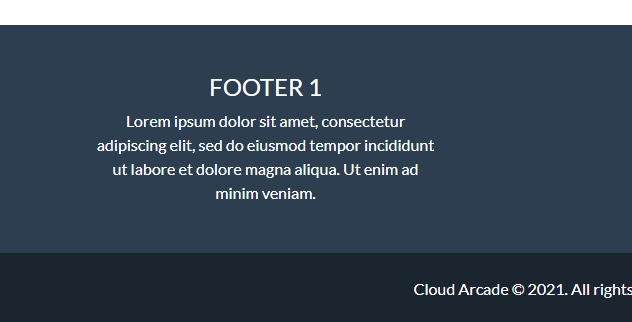
Do the same for “Footer 2” and “Footer 3”
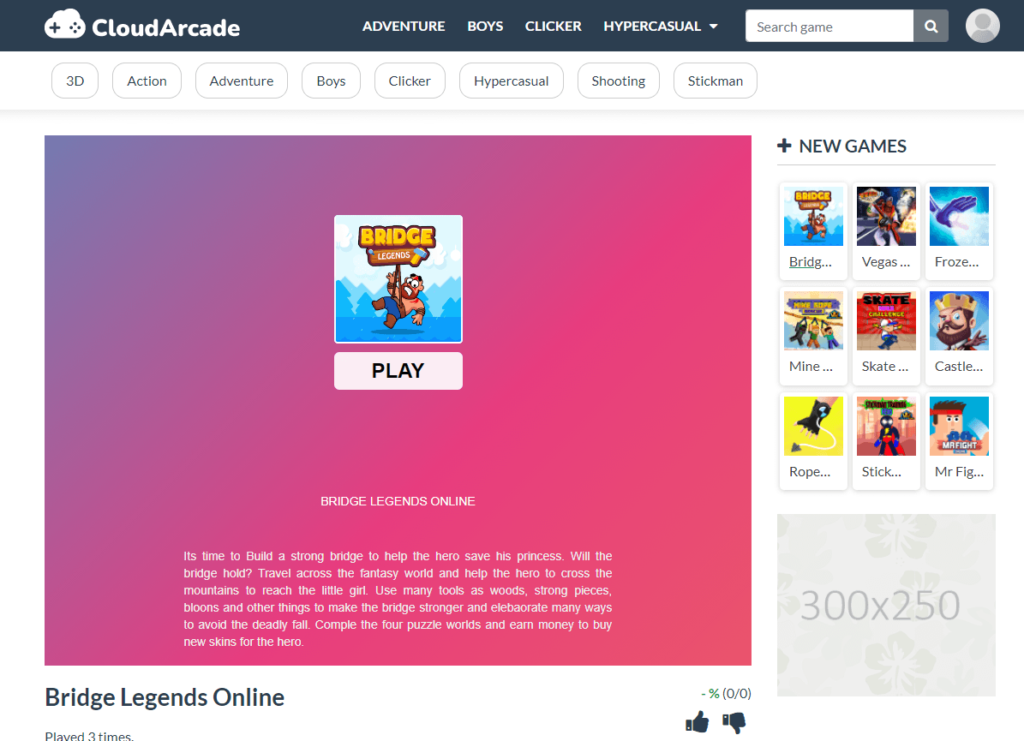
Next, open your single game page.
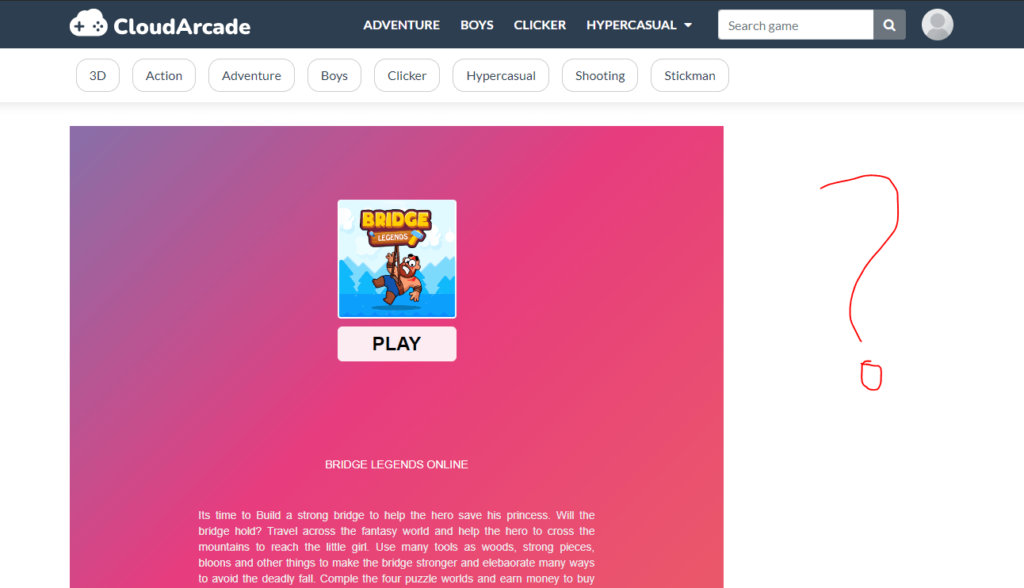
As we see, the right sidebar is empty, we need add widgets here
Still on the “Widget” page (tab)
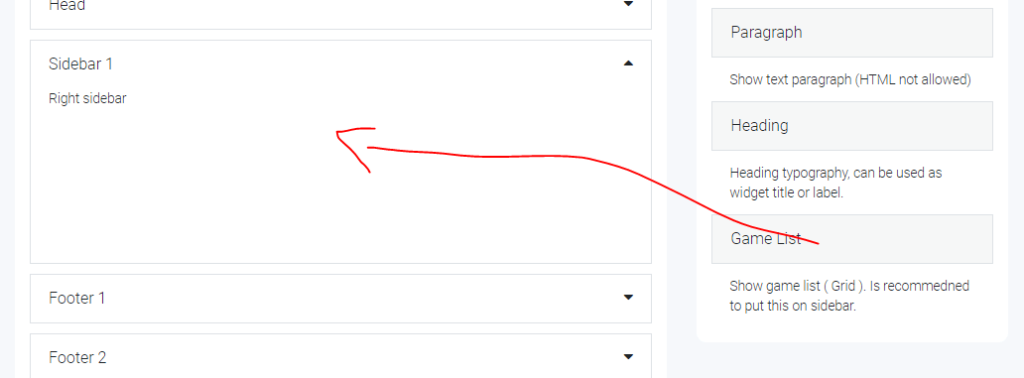
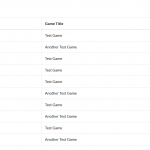
Drag “Game List” widget to the “Sidebar 1” placement
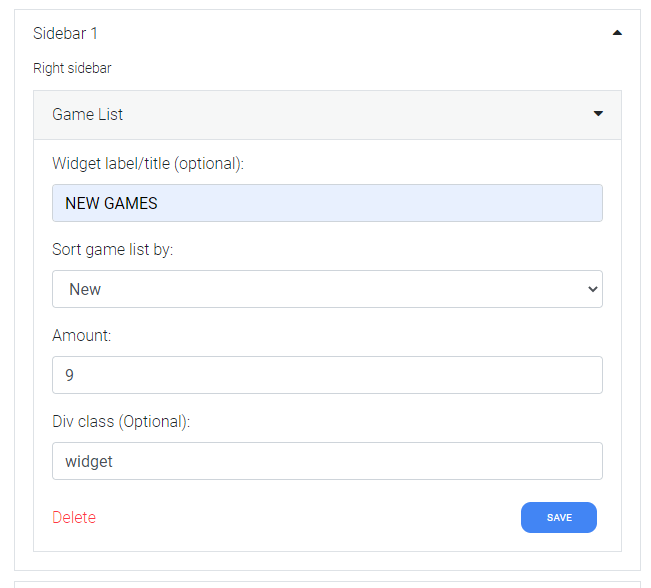
You can set the title to “NEW GAMES”, actually it’s optional, then save it.
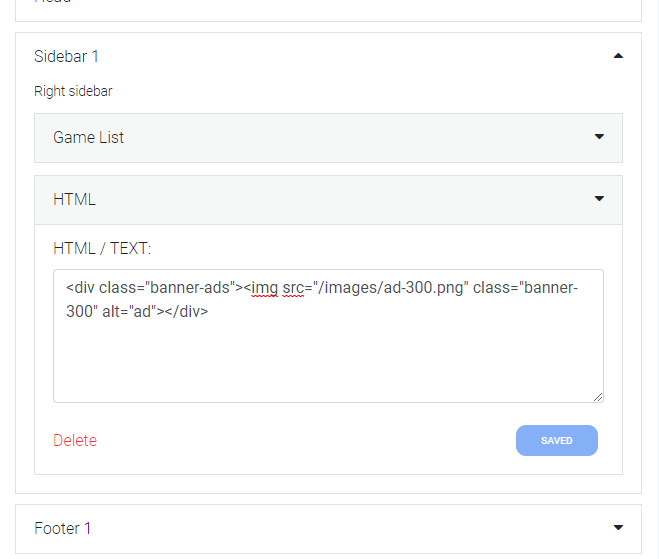
Add “HTML” widget at the bottom of “Game List”, we will use it as banner ads, most banner ads is HTML content, so we need to use HTML.
Sample banner code:
<div class="banner-ads"><img src="/images/ad-300.png" class="banner-300" alt="ad"></div>Result:
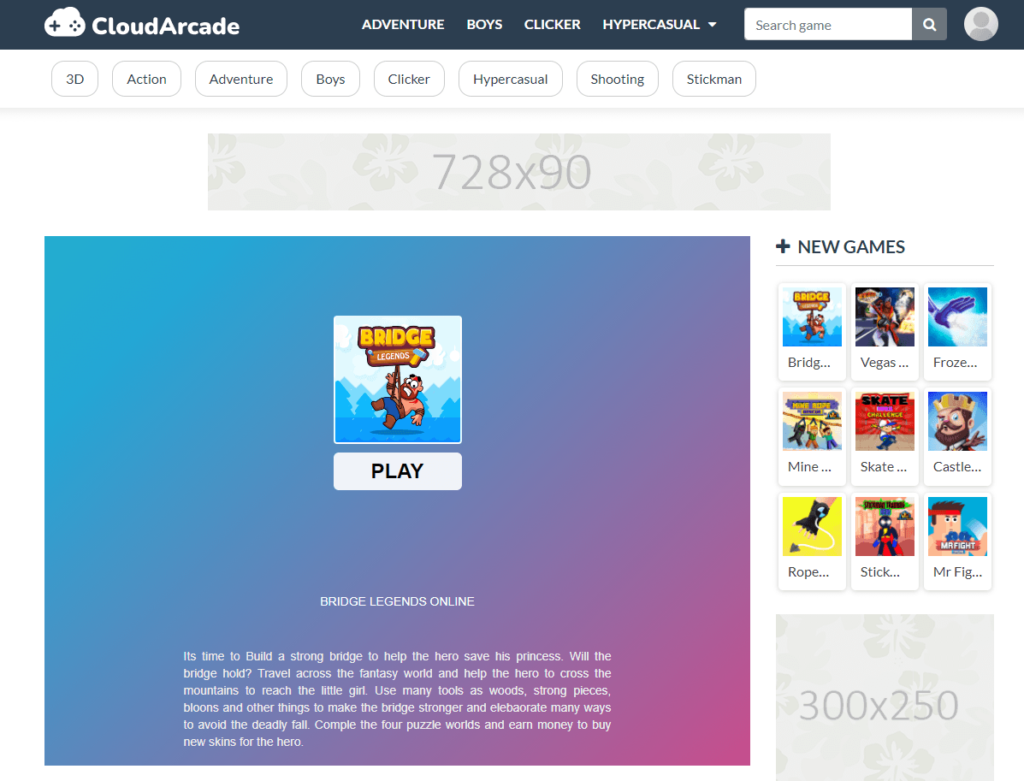
Our sidebar is ready. next, add banner ads on top content.
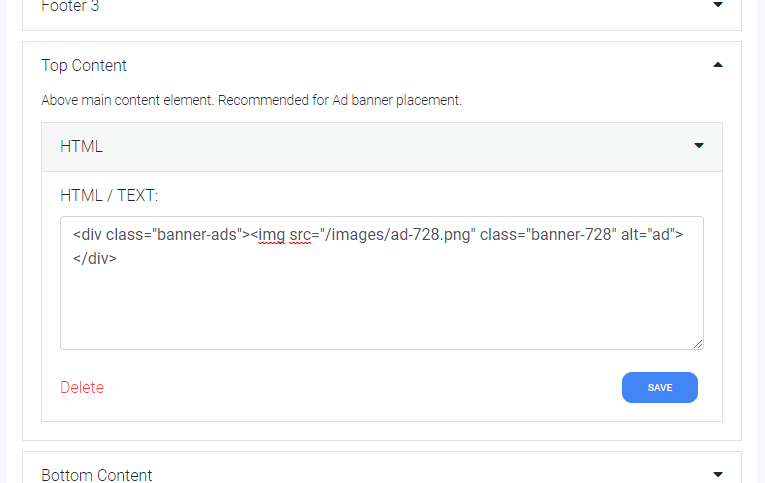
Expand “Top Content” placement, then drag “HTML” widget on it.
Sample banner code:
<div class="banner-ads"><img src="/images/ad-728.png" class="banner-728" alt="ad"></div>Result:
Last step, open “Settings” page, then change site title, description, logo.etc
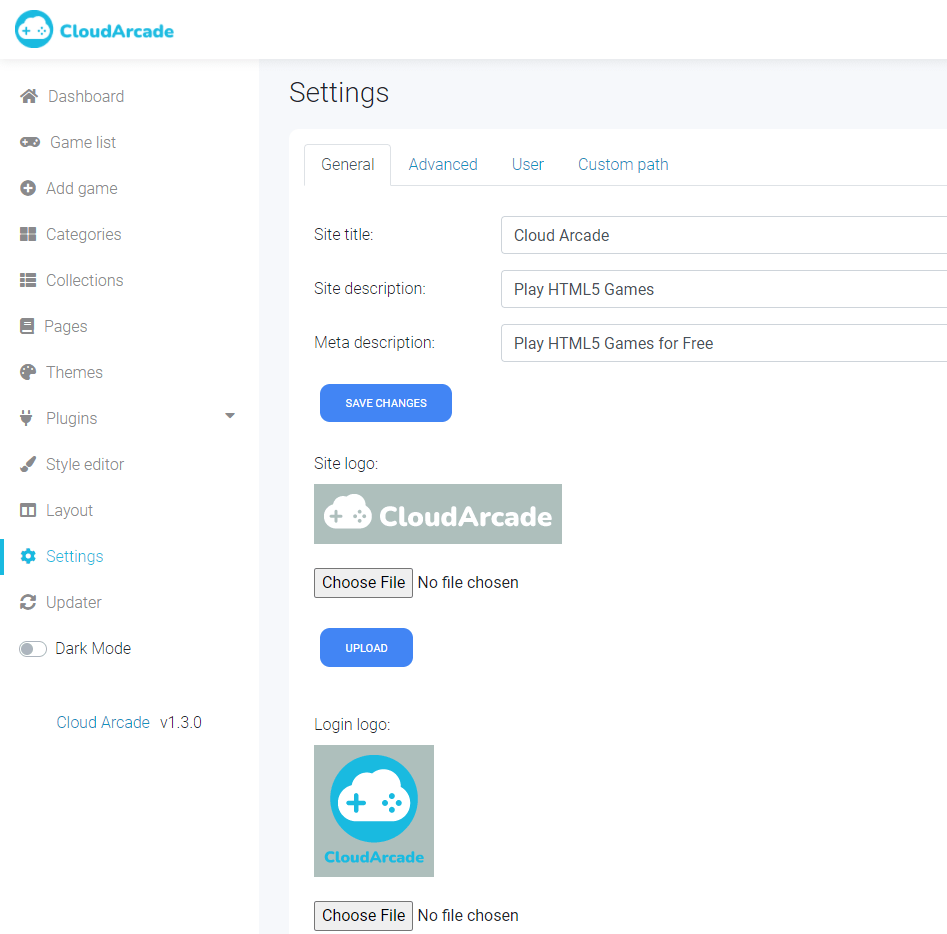
Now, your Arcade site is ready!
You may interest: Automatic game post / publish